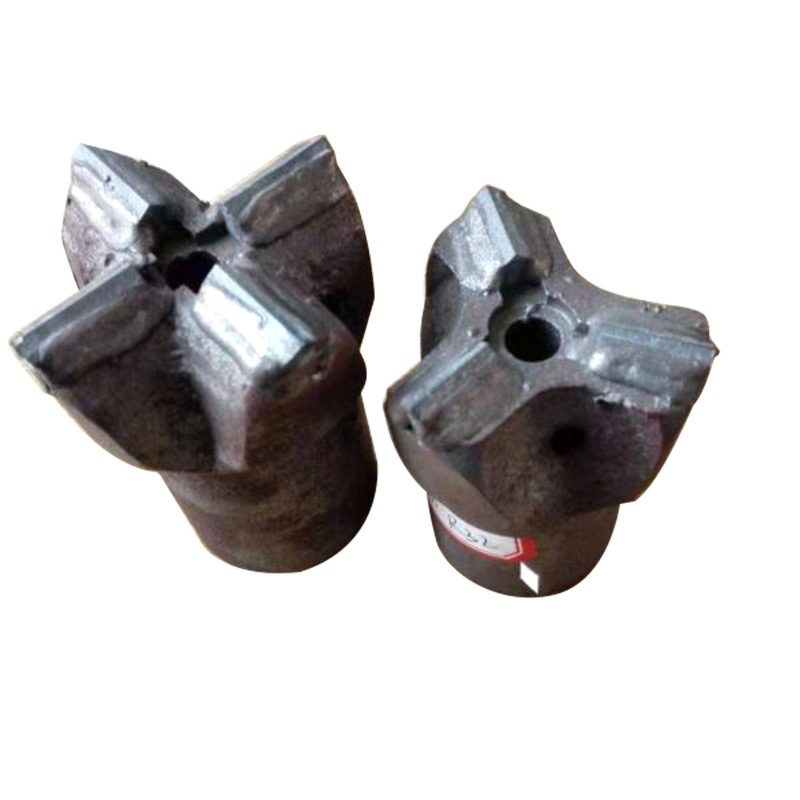
Every worn bit is a report from underground, and learning to read drill bit wear patterns is the cheapest diagnostic tool a drilling operation can own. Each bit records the rock you drilled, how you drove the string, whether your flushing was working and whether your rods were straight. Most crews throw the evidence in the scrap bin. The crews with the lowest cost per metre keep a few retired bits on a shelf and compare them.
Here are the six patterns that cover the great majority of failures, and what each one is telling you.
1. Even wear across all buttons
The good news pattern. Buttons are uniformly flattened, the body is intact, the gauge dimension is still close to nominal. Nothing is wrong except normal service – regrind and go again. This is what a well-set-up rig produces.
2. Gauge worn, face still sharp
The outer row is flattened or under size while the face buttons look almost new. Two causes:
- The bit is being pushed sideways. Wandering hole, bent rod, poor collaring or misalignment between the feed and the hole axis.
- The hole is over size for the string. Without wall support, the bit chatters and grinds its own gauge away.
Fix the alignment before you buy more bits. Otherwise the replacement will wear the same way.
3. Steel washout between the buttons
The bit body is scoured and eroded and buttons sit on little islands of steel. This is a flushing failure, not a steel failure. High pressure with low volume, clogged flushing holes or an over-fast feed that packs cuttings against the face will all do it. Check the bore of every rod in the string, confirm the water or air volume, and slow the feed until the return flow is clean.
4. Spalled or chipped carbide
Pieces have broken off the button faces. Causes are usually one of: too hard a carbide grade for the impact energy, blunt buttons left too long so the load concentrates on a small area, or thermal shock from irregular flushing. Spalling is a pattern of neglect – it very rarely appears on a bit that was reground on time.
5. Snapped or pulled buttons
The whole button is gone and there is a hole where it was. That indicates impact far above design load: stalling the string, dropping the bit into a void, hammering on a stopped rotation, or drilling with a bit that had already lost its face buttons. Nothing about a snapped button can be blamed on the steel.
6. Cracks, distortion and thread damage
Hairline cracks through the shoulder, an oval body, flattened or galled threads. This is the end of the joint rather than the cutting edge, and it usually traces back to over-torque, cross-threading, or leaving wet joints assembled overnight. Our notes on coupling sleeve failure cover the same failure family on the rod side.
Turn the pattern into an action
Keep a simple log: bit number, metres drilled, rock type, and one word for the wear pattern. Within a few weeks a picture appears. If every bit arrives back with washout, nobody needs to argue about flushing any more; the inspection sheet already settled it. That is also how you build a defensible replacement interval, and how you decide whether to buy a longer-life bit or a cheaper one – see our guide to wear forms and service life.
Frequently asked questions
Which wear pattern is most expensive?
Washout and under-size gauge wear. Both make you slow down without any single visible failure, so the cost arrives as lost metres rather than a broken part.
Should I keep worn bits?
Keep two or three per ground condition as reference samples, and scrap the rest. A shelf of labelled reference bits is the cheapest training tool a drilling team can own.
Can wear patterns prove a supplier is at fault?
They can point strongly one way or the other. Uniform wear and correct geometry point at service conditions; porous or badly brazed carbide, off-centre wings or soft heat treatment point at manufacture. That is why a documented inspection routine on receipt matters as much as a post-mortem.
Send us photos of your retired bits – face, gauge and shank – with your rock type and hole diameter, and we will tell you which pattern dominates and what to change first.