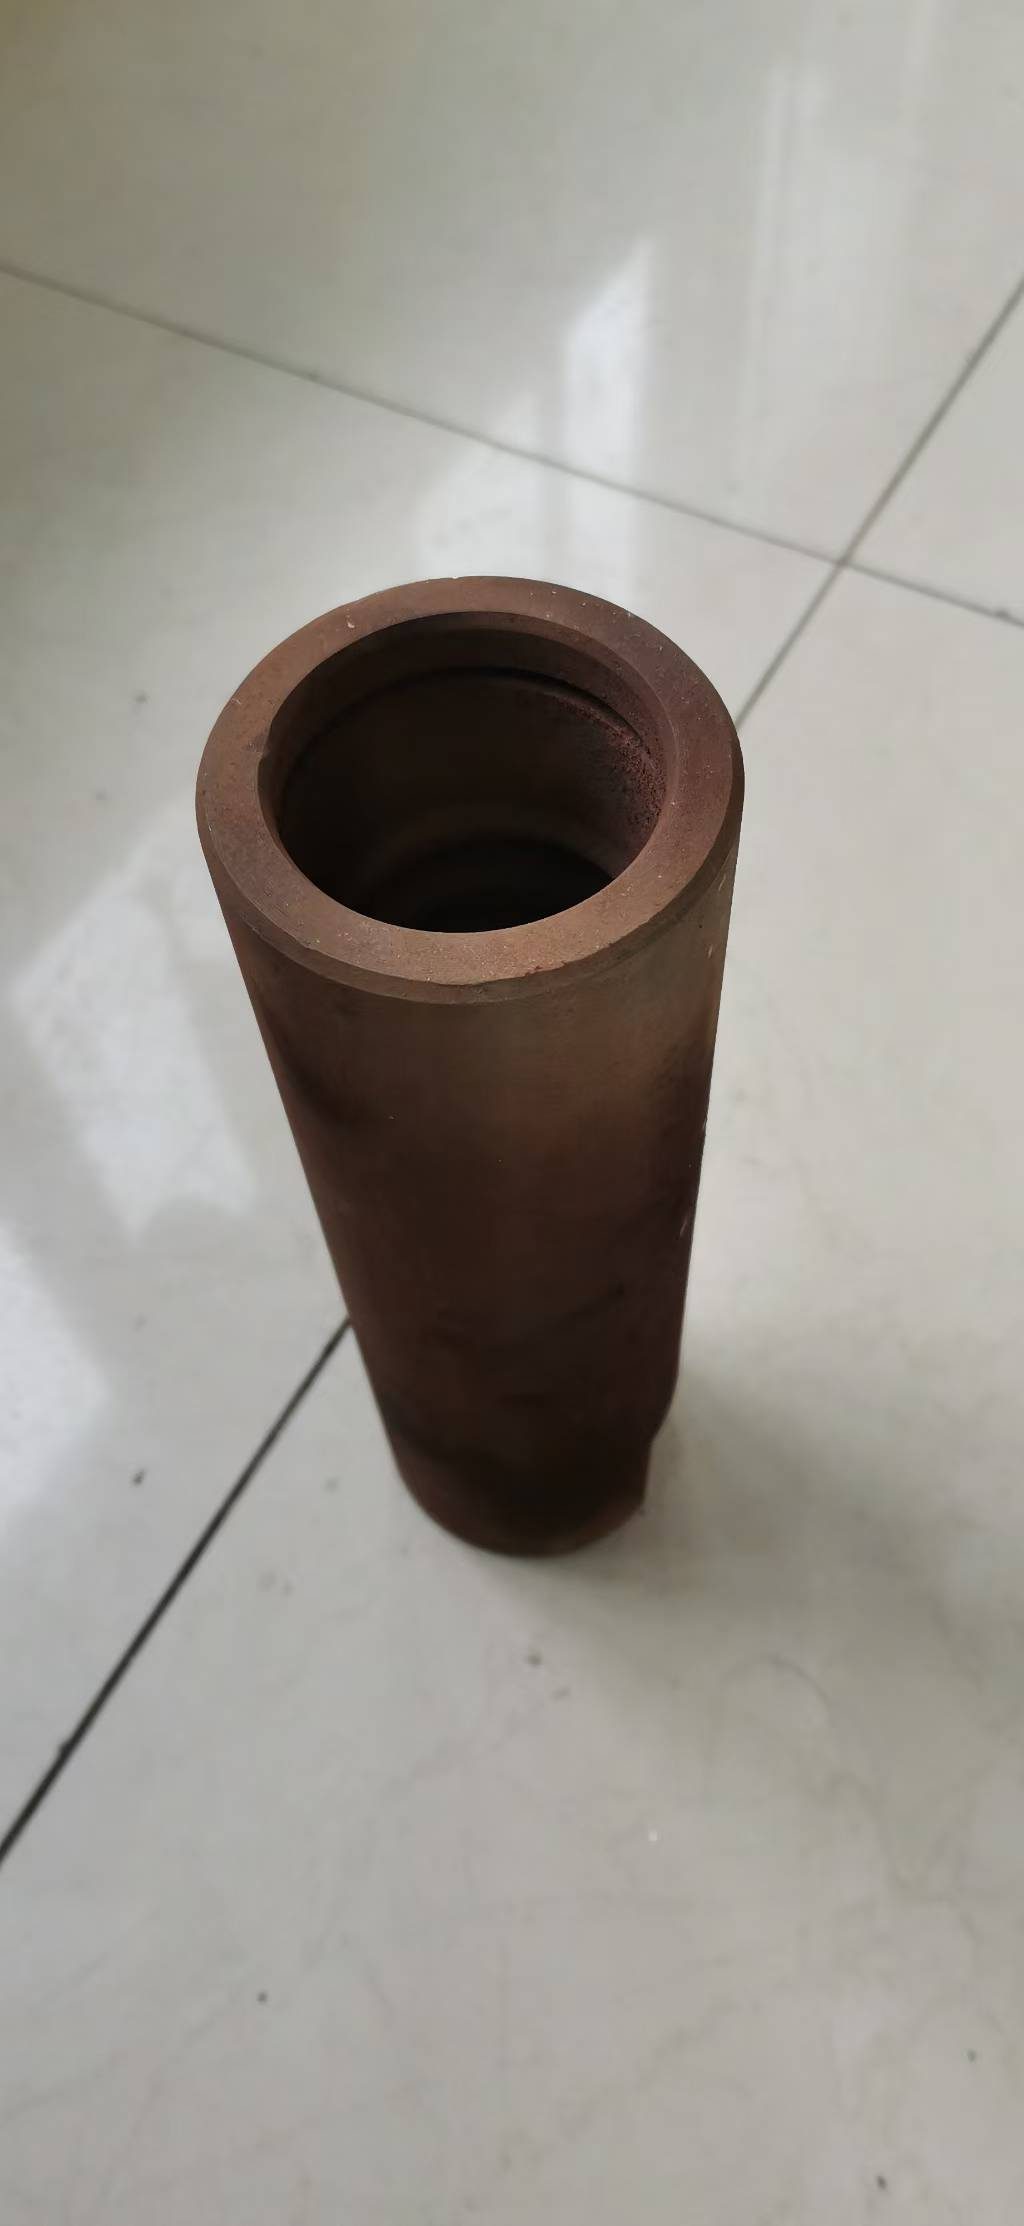
Ask a drilling crew which part of the string they think about least and the answer is usually the coupling sleeve. Ask them which part caused the last unscheduled stop, and the answer is often the same. The sleeve is a short, heavy-walled piece of steel with a thread at each end, and it carries every bit of torque, thrust and bending that the rod string generates.
What a coupling sleeve actually does
When rods are joined end to end, the sleeve is the joint. It has to do three jobs at once: transmit torque without slipping, carry impact thrust through its shoulders, and stay straight enough that the string does not whip. Because it is short and thick, it is also the stiffest part of the string – which is exactly why it takes the bending load when the hole wanders.
The four ways sleeves fail
1. Thread wear. Repeated make-and-break cycles slowly polish the flanks. The joint starts needing less torque to break, then begins to work under load, and the wear accelerates.
2. Distortion. Over-tightening, or driving with a bent rod behind it, ovals the sleeve body. An oval sleeve binds in the hole, creates friction and overheats.
3. Cracking at the shoulder. A hairline crack starts at the transition between the thread and the shoulder – the classic stress riser. It grows quietly until the sleeve splits.
4. Corrosion pitting. Water sits in the thread root overnight, pitting starts, and fatigue then finds the pit. This is a storage and housekeeping failure, not a steel failure.
Why sleeves fail early
In our experience the causes are predictable, and only one of them is about quality:
- Cross-threading during a hurried change, which removes the protective surface from the first thread turn.
- Mismatched hardness. A very hard sleeve against a softer rod thread transfers all wear to the rod, and the reverse destroys the sleeve. Joints should be matched as a pair.
- Running past the recommended depth for the string, so bending loads rise sharply.
- Leaving joints assembled and wet, which turns a consumable into a rusted-together assembly.
Five habits that double sleeve life
- Brush and inspect both threads before every change – five seconds against a whole shift.
- Tighten to the correct torque, with the correct wrench, and mark the joint.
- Break joints at the end of the shift, not the start of the next one.
- Store sleeves on a rack, threads oiled, away from the ground.
- Retire a sleeve at the first shiny thread band or any visible crack. It costs less than a lost hole.
Checking a sleeve in ten seconds on the rig floor
Roll it across a flat plate: any wobble means distortion. Look down the bore against the light: pits and rust rings mean water has been sitting inside. Then screw it onto a known-good rod by hand. If it will not turn freely for the first three turns, it is already damaged, no matter how it looks.
Frequently asked questions
Are all coupling sleeves the same steel?
No. Sleeves are usually made from a hardened alloy steel and then heat treated to match the rod thread they will work with. Buying a generic sleeve for a specific rod string is a false economy – see how heat treatment and machining affect these joints.
Can a sleeve be reused after regrinding the thread?
Practically, no. Once the thread is recut, the sleeve no longer matches the drawing, and the joint load moves to the wrong faces. Replace rather than repair.
How many make-and-break cycles should I expect?
It depends on ground, torque and housekeeping far more than on the number itself. Track it: note when you retire a sleeve and how deep the string went. Within a month you will know your own realistic service interval, and you can plan replacements instead of reacting to failures.
We supply rods, bits and matching coupling sleeves as one system, so every thread in your string is made to the same drawing. Tell us your rod size and thread, and we will quote the sleeves that go with it.