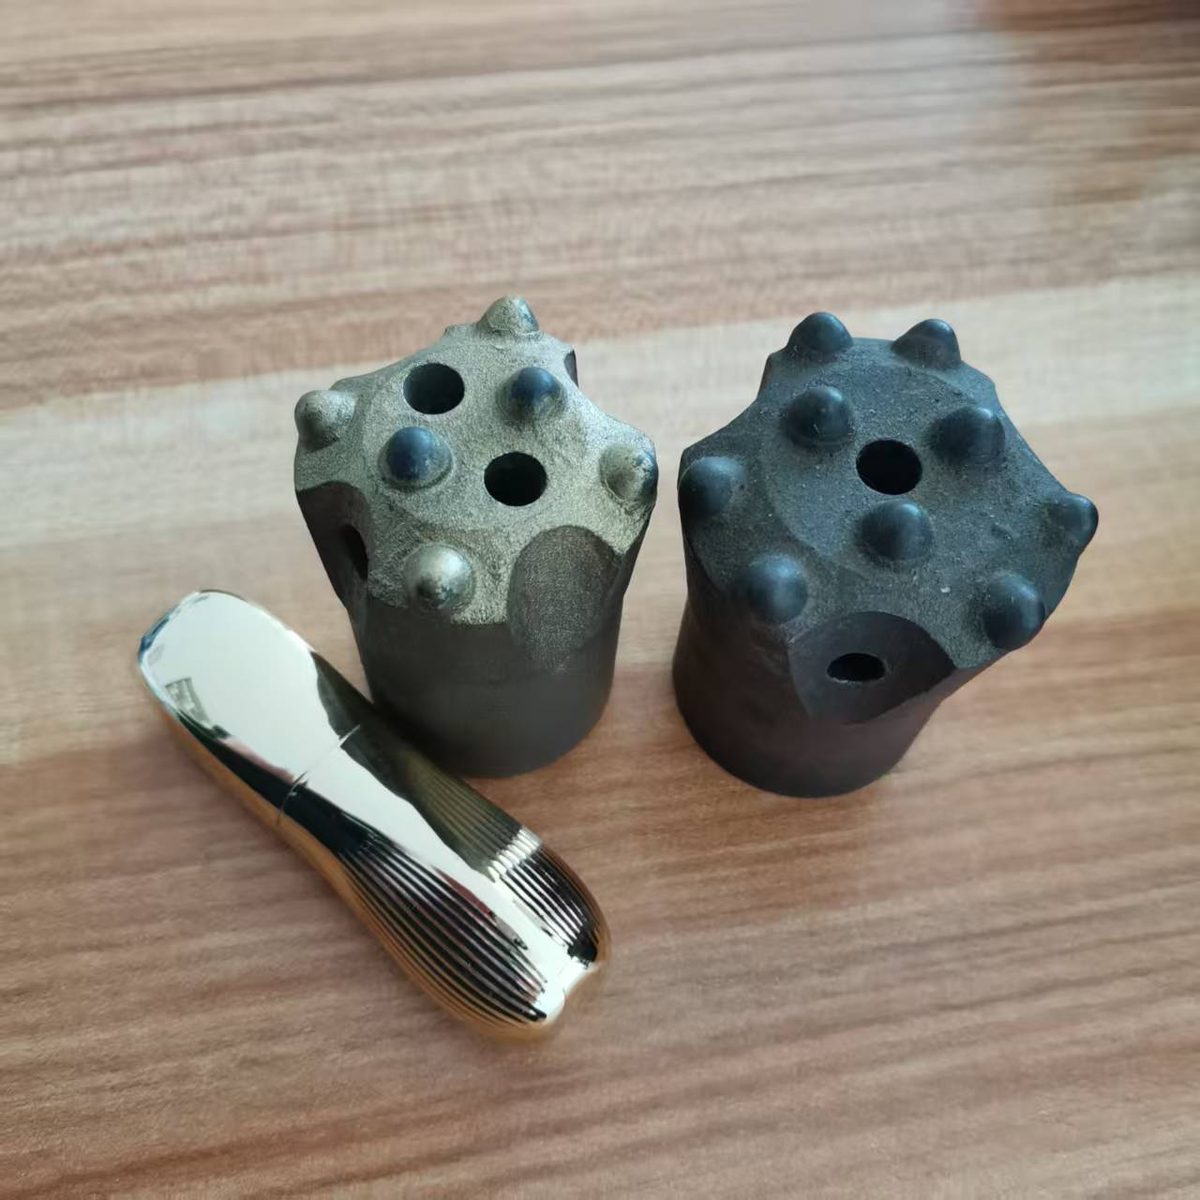
A button bit does not wear evenly. The carbide on the face does the work, but the row of buttons around the outside holds your hole size – and that outer row almost always decides when the bit has to come off the rig. Understanding the two jobs separately is the difference between a bit that is reground three times and a bit that is thrown away while it still had life in it, so button bit regrinding starts with knowing which row is worn.
Two families of buttons, two different jobs
Face buttons sit on the front of the bit and crush the rock as the hammer strikes. They wear on their tips, gradually flattening into small facets. Flattened face buttons do not cut; they rub, heat up and slow the whole string down.
Gauge buttons sit in the outer row and follow the wall of the hole. They are responsible for keeping the hole to diameter and for steering the bit straight. When they wear, the hole diameter shrinks. The rod then drags on the wall, flushing gets worse, and the next bit has to open a hole that is already under size.
Button shape matters too: spherical buttons are the toughest and suit hard, abrasive rock; ballistic and conical buttons penetrate faster in softer or more brittle ground but wear away sooner. Mixing button shapes within one bit is normal – the shape is chosen for the load that row carries.
Reading the wear before you decide
- Flat facets on face buttons: normal wear. Regrind restores the dome and brings penetration back almost to new.
- Gauge buttons worn below the face buttons: the bit is about to drill under size. Measure the outer diameter across the gauge buttons, not across the body.
- Steel washout between buttons: the body has eroded, usually from poor flushing or too much water pressure with too little volume. This is not recoverable by grinding.
- Snapped or missing buttons: an impact problem – too much feed force, a stalled string or a hole full of cuttings. Also not recoverable.
When regrinding is worth it
Regrind while the buttons still have height. A widely used working rule is to grind when the flat on a button reaches roughly one third of its diameter, and to stop regrinding when button protrusion falls below about 3 mm or the steel around the buttons starts to erode. Every grind removes carbide, so a bit has a finite number of lives – usually two or three.
Do it properly: use a diamond wheel, keep the coolant flowing, restore the original dome profile rather than simply skimming the flat, and let the button cool slowly. Overheated carbide cracks within a hundred strikes, which costs more than the regrind ever saved.
The economics nobody writes on the invoice
An unsharpened face button typically cuts penetration rate by a noticeable margin within a few hundred metres, and penetration rate is what drives your cost per metre: rig time, wage, fuel and depreciation all run at the same hourly rate whether the bit is cutting or rubbing. Regrinding a bit usually costs a small fraction of a new one. If it restores even ten percent of penetration for the rest of the bit’s life, it has paid for itself.
Frequently asked questions
How do I know if a bit is worn out rather than worn?
Measure the gauge. If the outer row has taken the diameter below the tolerance your hole requires, the bit is finished regardless of how the face looks.
Can I regrind a bit myself?
You can, with a proper button bit grinder and the correct diamond cup wheel. Doing it with a hand grinder usually overheats the carbide and leads to early button loss.
Why do my gauge buttons wear faster than the face?
Usually because the hole is wandering or the string is not straight, so the bit is being pushed sideways into the wall. Check rod straightness and alignment – the causes are the same as those in the five on-site causes of bit breakage.
Tell us the rock, the hole diameter and the rig, and we will recommend the button shape and gauge configuration that lasts longest in your ground – and the regrind interval that goes with it.