Tap-hole drilling is a fast-paced, high-risk operation. Every step matters. A standard procedure not only improves efficiency but also protects the operators.
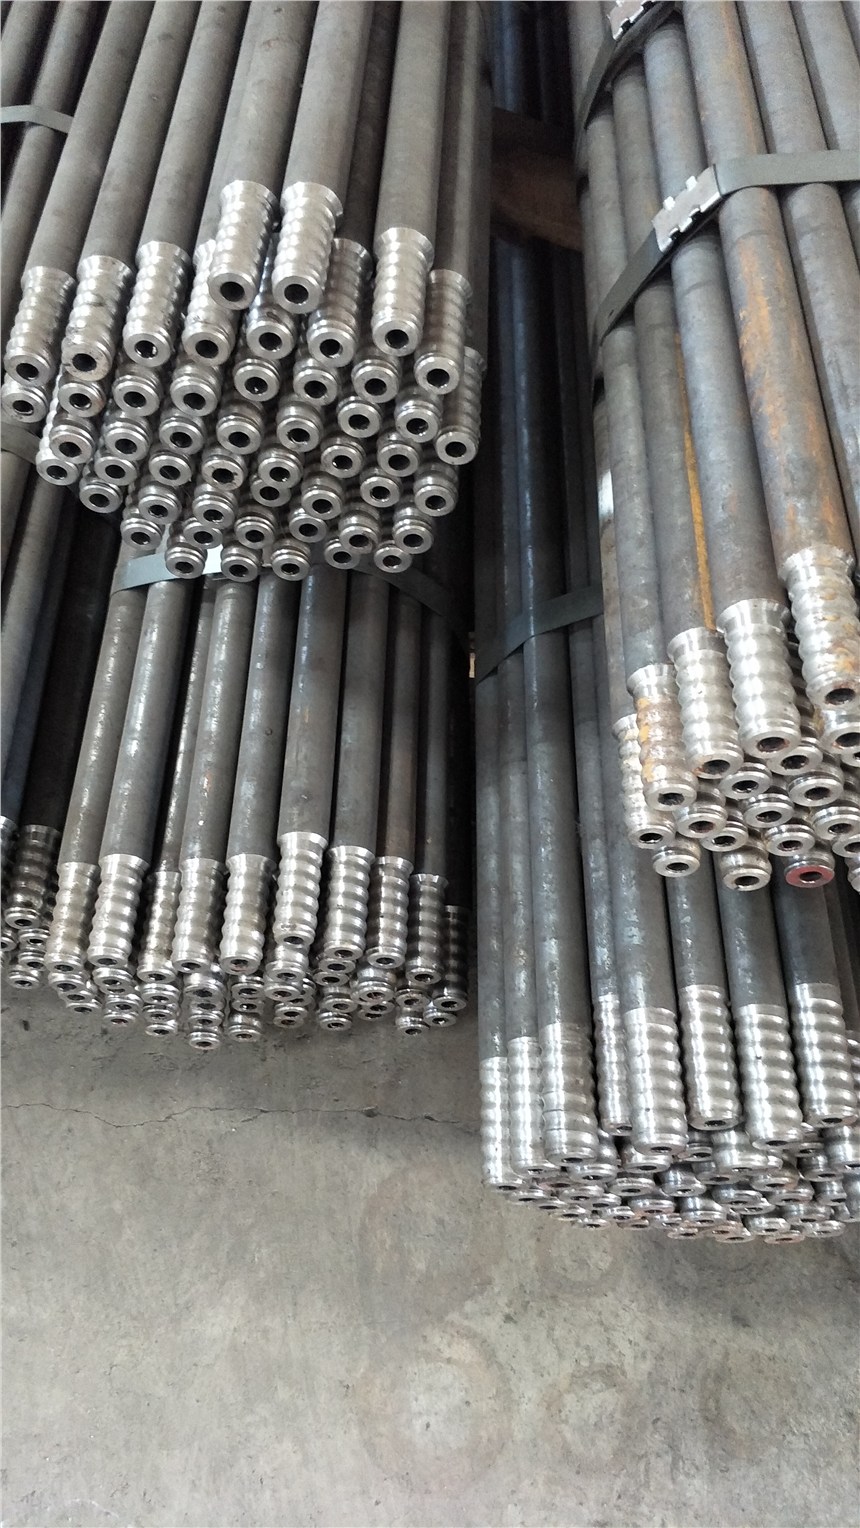
Step one, preparation. Check the opening machine rotation, feed and hydraulic system; confirm the tap-hole position, depth and residual condition from the previous heat; stage rods of the required length and one new bit, clean and oil the threads; make sure the area in front of the tap hole is clear of people and flammables, and that the mud gun has plugged the hole to sufficient strength.
Step two, alignment and test drill. Aim the bit at the tap-hole center. Start at low pressure and low rotation to cut a shallow starter hole. Confirm the hole is straight and not drifting before ramping up feed force and speed. This first segment is critical; once the hole angles off, correcting it later is very difficult.
Step three, normal drilling. Feed steadily and watch the rotation pressure gauge and flushing pressure. A sudden pressure rise usually means a hard layer or jamming—pull back slightly and advance again. A sudden pressure drop may mean broken buttons or an unscrewed rod—stop and inspect. Direct cuttings away from walkways and equipment.
Step four, break-through and withdrawal. When the bit approaches the furnace interior and sparks or gas appear at the hole, control feed force and do not shove through. Once through, stop rotation first, then withdraw the rod slowly, maintaining flushing to prevent hot iron or slag backflow.
Step five, post-job inspection. Return rods and bits to their racks, flush and oil them one by one; inspect threads and shaft condition; examine bit button wear and record bit life as a basis for future selection. The whole process is a chain: skipping a quick check now costs more later.